How to Make Your Own Custom Seating Chart Digitally
The last of your RSVPs have rolled in, you’ve secured an accurate headcount, and any remaining big-picture logistics have been sorted out. Now is the perfect time to build a seating chart for your event—without completely losing your mind. It’s possible (we promise!) Greenvelope recently launched a new feature to streamline seat assignments and we can’t wait to share it with you. Keep scrolling for more information and tips!
When to Start Your Seating Chart
Start building your seating chart about two to three weeks before your event date, right around the time those last-minute RSVPs trickle in and you’re close to finalizing the guestlist.
Consider Your Floor Plan
Before you start assigning seats, be sure to get a feel for the floor plan at your venue. In addition, we recommend checking in with your event coordinator or venue contact to see if tables are included in your rental contract. If so, be sure to note the number of available tables and what shapes and sizes they come in. If tables are not included, ask your contact if they can recommend a floor plan that has worked well in the past. Once you have that information, you’ll be able to determine the best options to consider from a rental company.
Determine How Many Tables You’ll Need
Your finalized guest list is an important tool for determining how many tables you’ll need to have at your event. It’s also important to consider the appropriate amount of people to seat at each table. You don’t want to overfill a table and leave guests without enough elbow room, but you also don’t want to under fill and discourage conversations. 60-inch round tables typically seat 8–10 adults comfortably, whereas a 6’ x 30” banquet table seats closer to 6–8 adults. (Here’s a helpful resource when considering the size of your tables.)
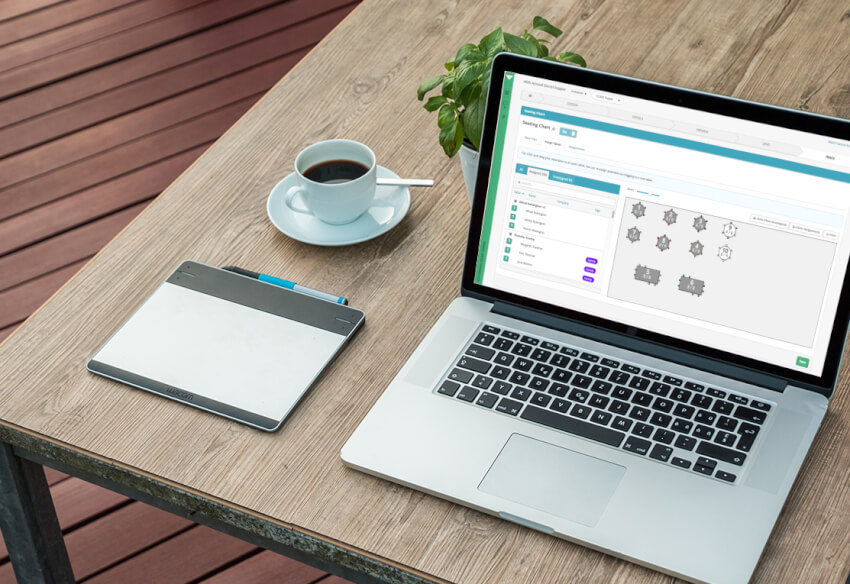
Map Out Your Seating Chart
Feel free to pass on any sticky notes and poster board. Online tools, like Greenvelope’s Seating Chart, can help you streamline the process of mapping out seat assignments (without any paper cuts or endless erasing!) The drag-and-drop functionality allows you to easily change your table size, shape, and position in the space. You can even automatically assign tables in a way that keeps any linked contacts (like families and plus-one guests) together.
Naming Tables in Your Seating Chart
Whether you want to number each table or assign them by name, Greenvelope’s Seating Chart lets you decide how to best distinguish your seating chart. Depending on your event, it can be fun to show a little personality with creative table names!
Make Quick, Easy Adjustments to Your Seating Chart
Chances are, you’ll need to make adjustments to your seating chart. The good news? You’ll find that quick, last-minute adjustments become effortless with digital mapping. Instead of manually erasing, the drag-and-drop functionality makes updating easy!
Print Your Finalized Floor Plan and Seating Chart
Once you’re finished, Greenvelope makes it easy to print a physical copy of your floor plan and seating chart. These printouts are especially helpful to any external vendor who will be working in your event space (like a calligrapher or your day-of coordinator!)
For step-by-step instructions, visit Greenvelope’s how-to article! Happy planning!