When it comes to your wedding, invitations are the perfect place to start some DIY fun. Your invite is one of the first communications your guests will receive about your wedding—so make it special! Skip the paper and try your hand at creating a beautiful paperless invite that can be delivered directly to the email inboxes of your guests. If you want to try your hand at DIYing your own paperless invitations with a service like Greenvelope, keep reading to see some top expert tips.
Give Yourself Time
While choosing paperless online invites will save you a lot of time in not having to worry about samples, printers, and delivery, you still want to give yourself enough time for everything else. Going with a DIY online platform gives you a lot of options to experiment and play with, so you don’t want to be in a rush to design your card the week you want to send it out. Try different invites, different colors, different envelopes and stamps. And, make sure you find one you love!
Define Your Style and Palette
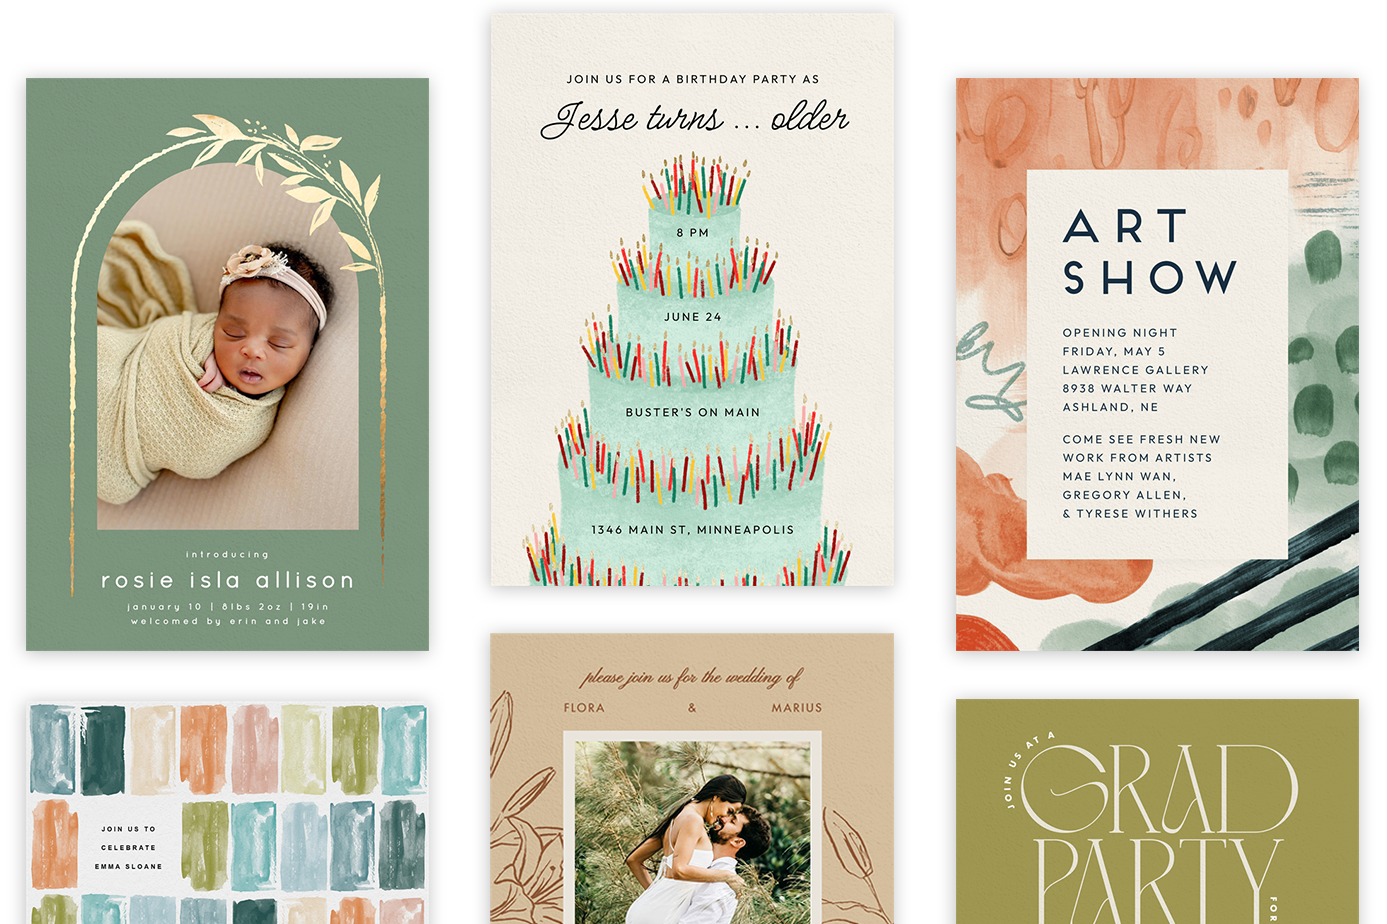
If you start with a template or some pre-designed artwork, you’ll want to narrow down your search with the style and colors you want. Is your wedding vibe more romantic, traditional, bold, or modern? Do you want florals with sunny coral and yellow? Or do you want natural earth tones with marble accents? Deciding these things before you begin the invitation DIY process will make your life a lot easier. If you aren’t sure yet, start by browsing other invitation styles and artwork. Take notes of the things you do like and the things you don’t like, and be specific.
Finalize Your Wording
When finalizing your wedding invitation wording, begin with the basics of what people need to know right away. Names, date, venue. Then, consider wording style: formal and traditional? Or perhaps simple and straightforward? Or maybe you’re thinking nontraditional and playful? This will help determine what other information you want to include on the invitation card face versus on the details page.
Ensure Legibility
It isn’t uncommon to end up with more details and information than the invitation will actually fit . You want to make sure that your invitation not only looks beautiful, but also that guests can actually READ it! Enter: the wonder of the Details Page, or wedding website, to help hold all of the non-vital details (hotel, transportation, dress code, registry information, etc.). Make the most of these additional tools so that your invitation makes a stunning first impression.
Use the White Space
This ties in with legibility but is also a key consideration for the layout and overall aesthetic of your card. Overcrowding and a lack of white space will make even the most beautiful of invitations look less elegant and/or less professionally designed. White space is a key element of any well-designed piece of stationery, so avoid the urge to fill every inch of your card with text or graphics.
Customize Your Envelope
Just because you’re going paperless doesn’t mean you don’t need a fabulous digital envelope to match. From the envelope paper type and color, to the envelope liner, to the stamp, address font, and guest greeting, there is so much opportunity to make the envelope your own.
Preview, Preview, Preview
Send a sample to yourself, send a sample to your parents or friends or partner, and then send one to yourself again. If you make even the smallest changes or updates, send another sample to yourself. Make sure that you love everything about your invitations before you send them out because once they’re gone, they’re gone, and you’ll be happy you took the extra time.
Begin with a Template vs. Upload your Own
In addition to being able to customize one of our thousands of designer templates, Greenvelope also offers simple functionality that allows you to upload your own invitation. The best part? Couples who upload their own design can still take advantage of all the event management tools that Greenvelope offers (like RSVP tracking and guest survey questions). Wondering where to start? Below are the accepted file types and dimensions to consider as you plan out your design:
Supported File Types:
- .JPG
- .JPEG
- .PNG
Dimensions:
- Portrait Card: 1710px wide by 2430px tall
- Landscape Card: 2430px wide by 1710px tall
- Square Card: 2100px wide by 2100px tall
- Small Landscape Card: 1710px wide by 1050px tall
In terms of the actual design process, if you do want to create something fully custom but don’t happen to be an expert on Adobe Creative Suite programs, we recommend checking out A Practical Wedding for tips on designing your own wedding stationery here.
Did you DIY your wedding invitations? What do you wish you had known before you got started? Share with us on Instagram!