DIY Hostess Gift Basket
Have you soaked completely into summer yet? I hope so! I hope you are kicking your feet up and enjoying a refreshing cocktail on a patio somewhere as you read this!
Summer means a lot of things and one of those things is lots of parties. If you are a good little guest, you will never show up empty handed! Keeping it simple with a bottle of wine or a side dish is perfect manners. But, if you have a hostess that you think deserves a little more, I have just the perfect gift to share with you! It’s part DIY and part curated goods. Follow along, I’ll teach you how!
First you will need a gift basket. Just about any woven style of basket should do, so long as you can thread yarn through the weaves. I used an old basket that I picked up at the flea market several years ago and painted it white to brighten it up.
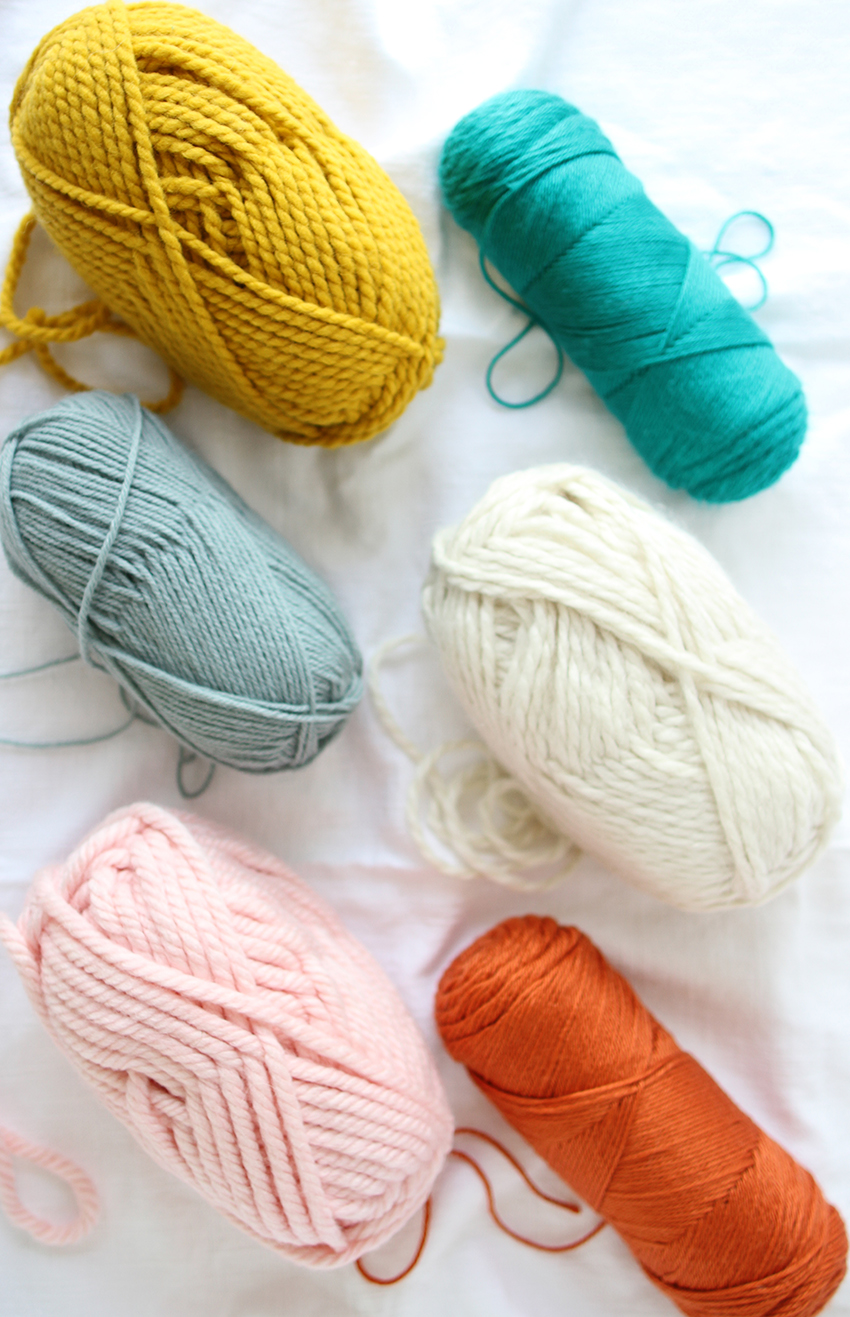
Next, you will need yarn in a variety of color and thickness. Choose a palette that you know your hostess will love!
Lastly, you can choose to copy the design I created here (I’d be flattered!) or, if not, you will want to think about how you will layout your design and what colors will be used where. Then, cut your yarn into short pieces (mine ranged from 5 to 6 inches) – it is better to cut a little longer because you can trim shorter as needed once it is threaded onto the basket. The numbered instructions here coordinate with the numbered images below. Follow along to learn how to thread your yarn.
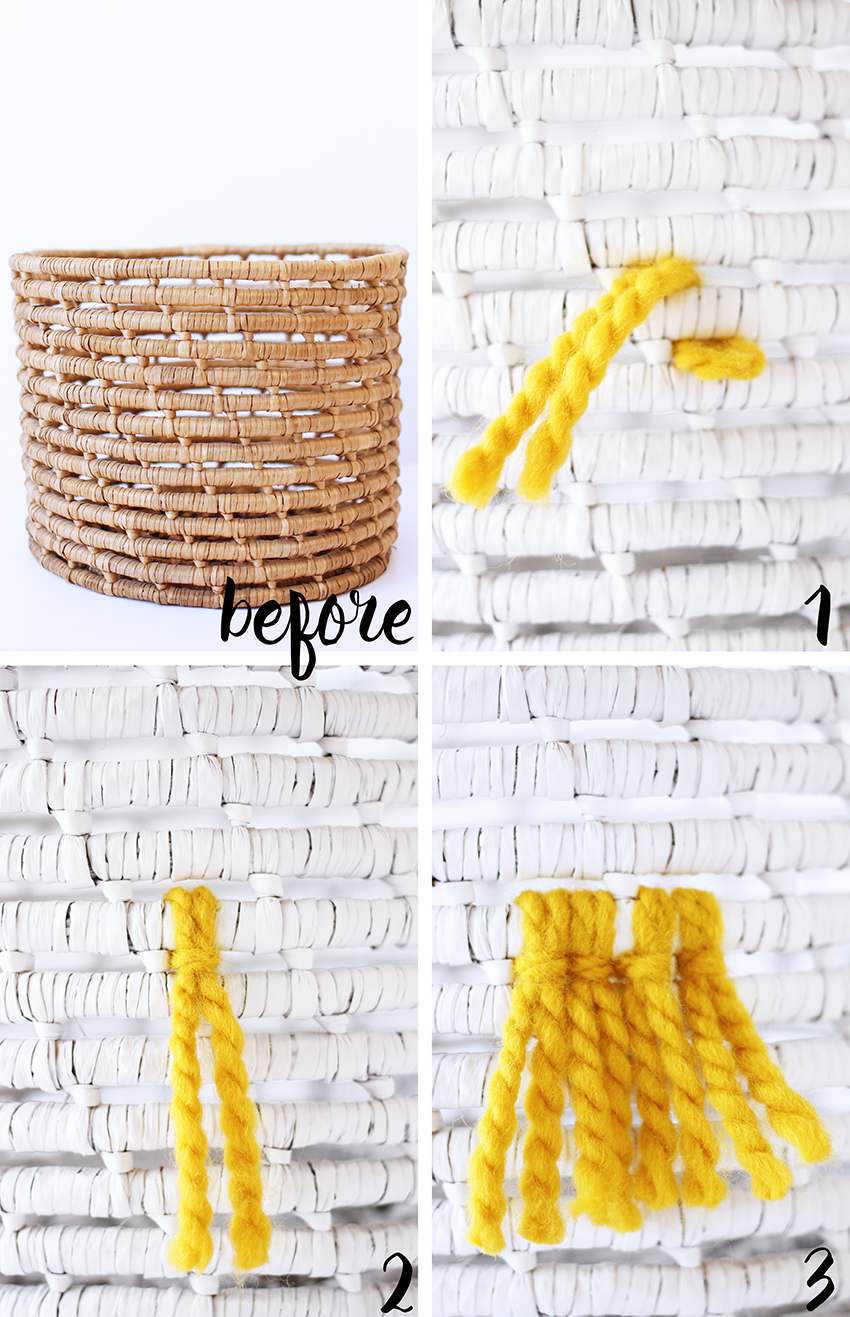
Create the base layer
Fold yarn piece in half and weave the looped end through the basket
Then pull the ends through the loop (I like the call this the necktie loop)
Repeat until you have reached the desired length of that portion of your design
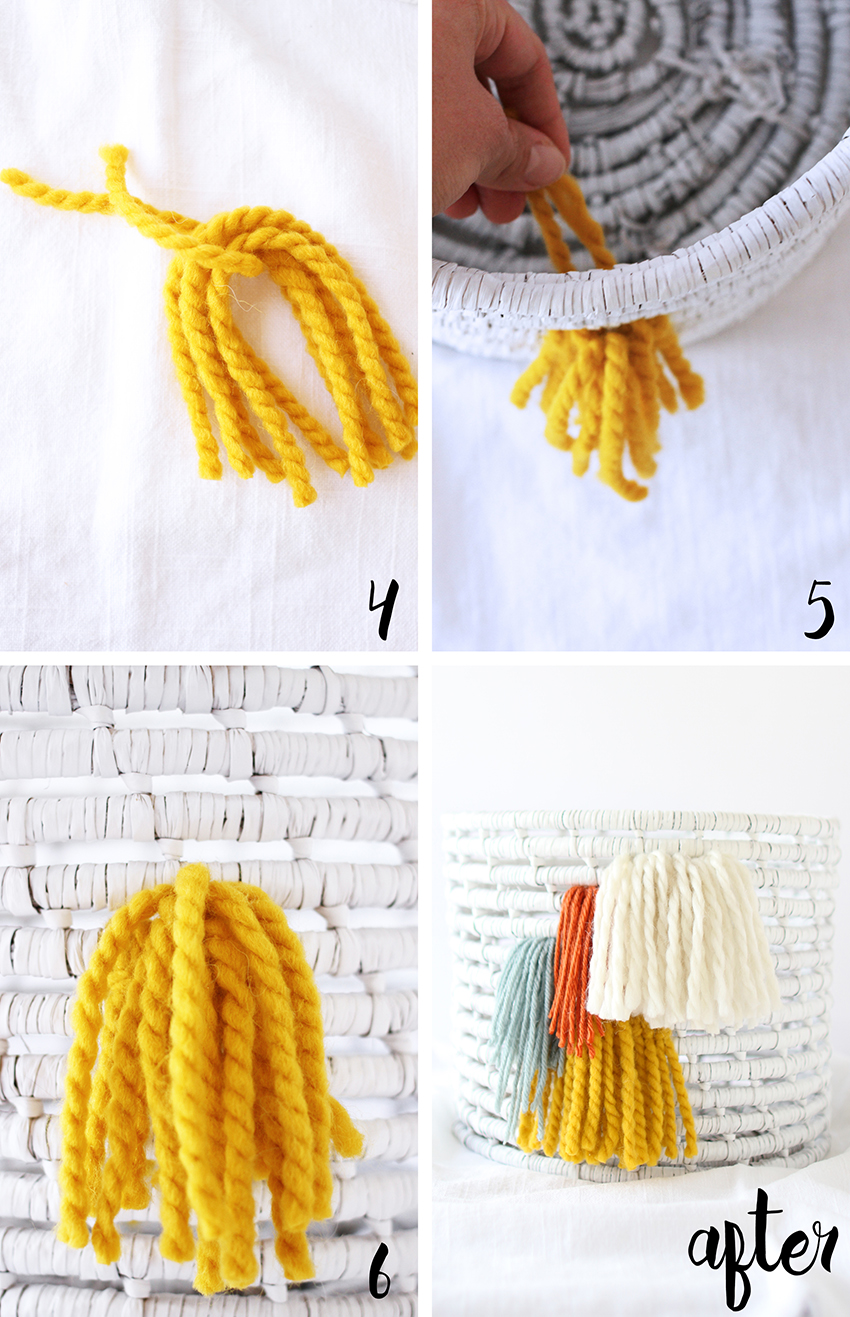
Add volume
Gather 4-6 pieces of yarn and one additional piece as the tying strand
Thread through basket on top of base layer
Tie and repeat as needed to create desired volume
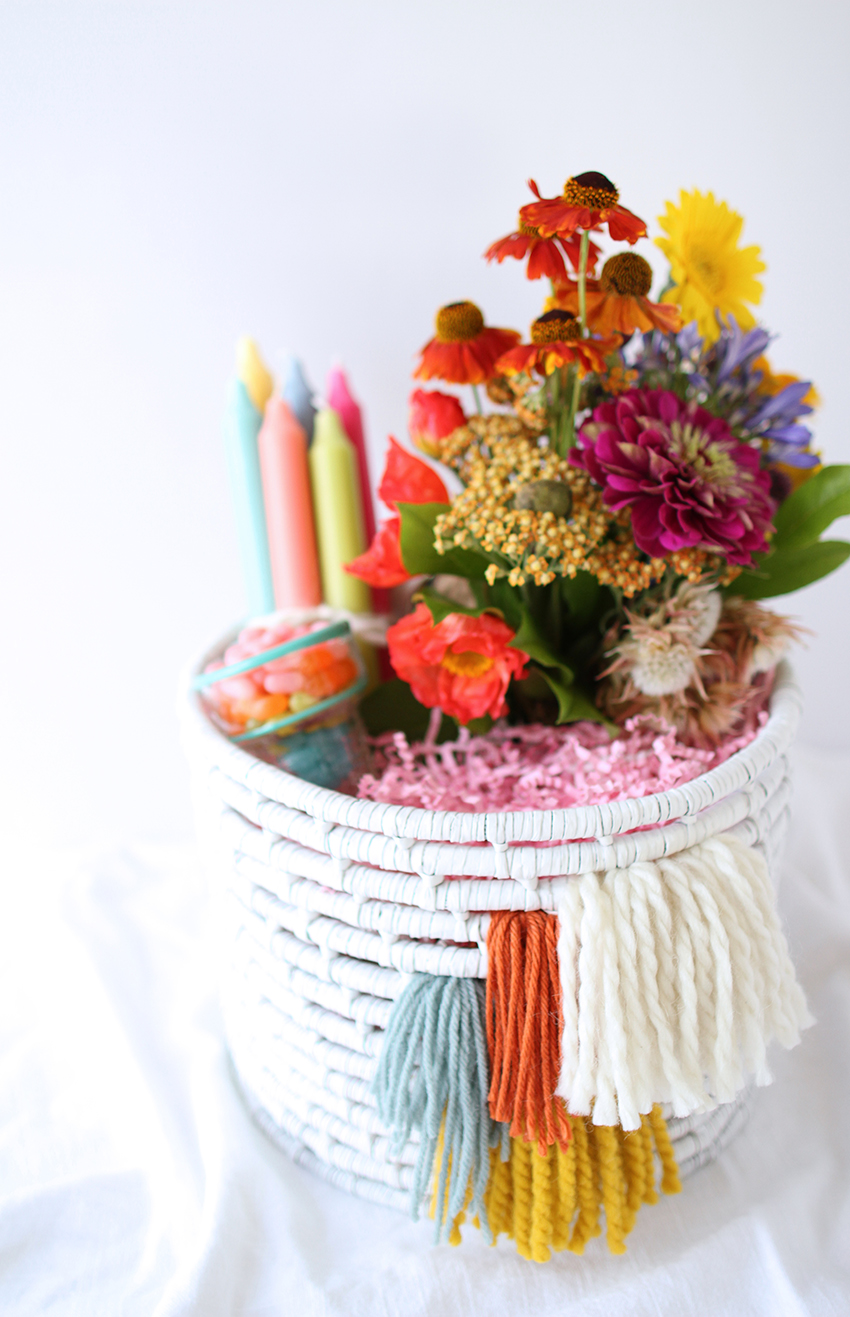
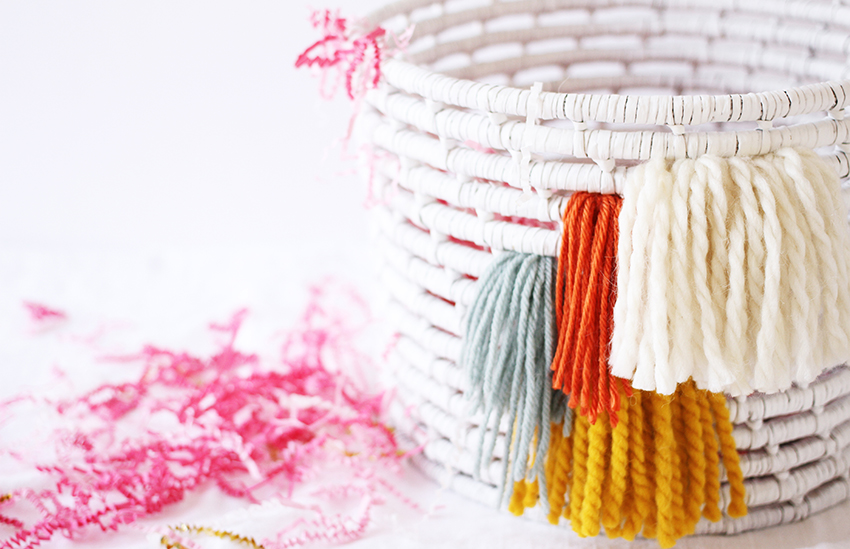
Once you complete one color, move onto the next. Then, once you are happy with your design, trim your yarn ends to desired lengths. And voila! You have a happy little basket!
Now, to fill your happy basket… I chose three fool-proof hostess gifts:
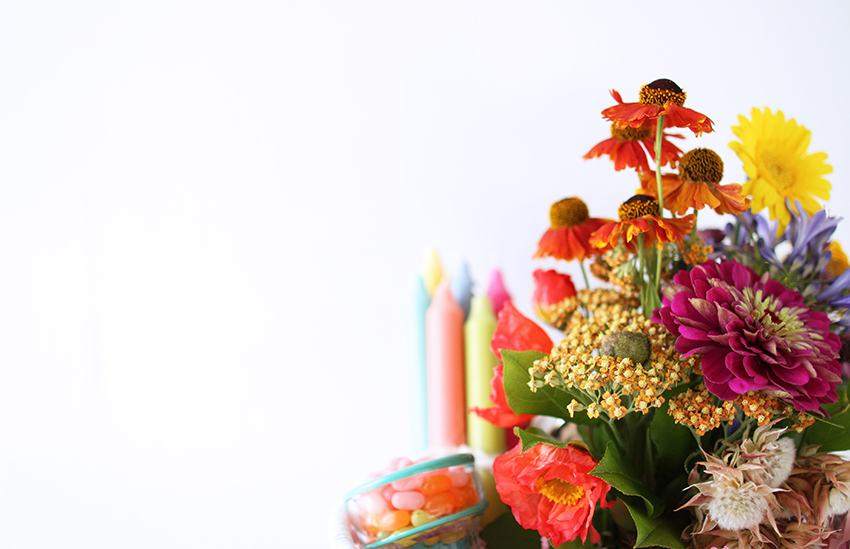
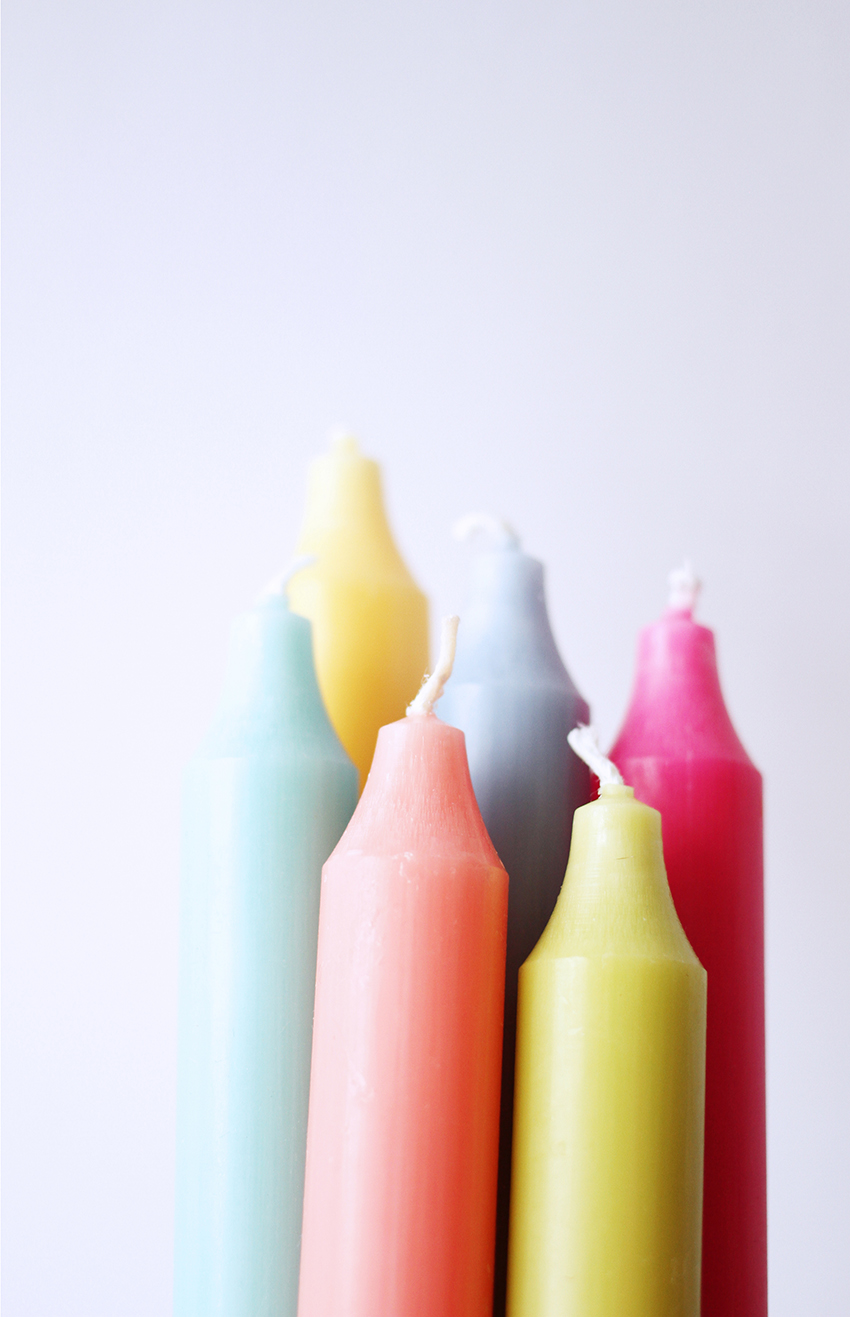
- Candles – I went with a variety of fun colored tapers to go with the colorful basket!
- Flowers – A thoughtful assortment of pretty blooms is always a hit!
- Something Sweet – For the candy jar, of course! I filled my cute little glass ice cream cone with a rainbow of Jelly Bellys!

Alright, no excuses now! Time to step up your hostess appreciation game 😉 Just kidding… But really, don’t forget about your party hosts and hostesses – they put a lot of thought and work into planning and executing their fête, so make sure to let them know that they are appreciated!
XO Brynn
p.s. Thank you so much to my Greenvelope friends for having me over today!