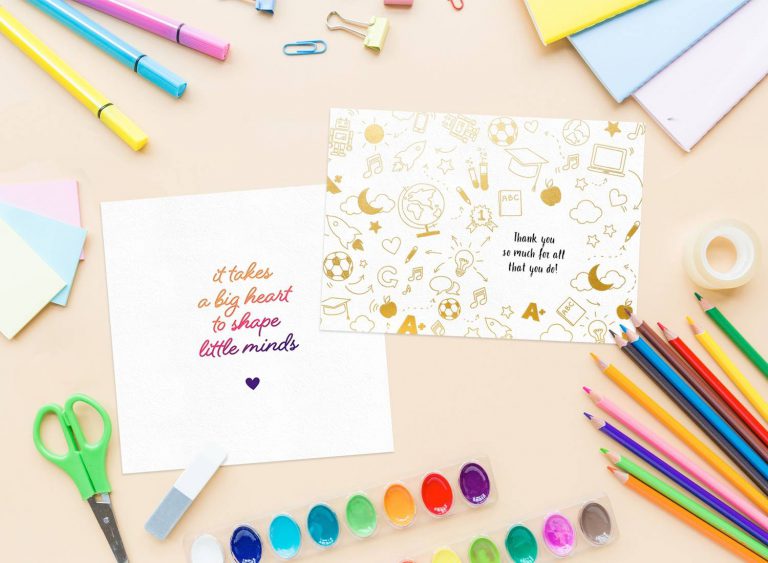
Paper isn’t usually completely smooth—so why should digital versions be any different? With the right steps, you can add realistic paper textures to your digital designs (think grain, structure, and dimension!) We’ve listed some simple steps to help you pull off this look digitally in Photoshop.
Create Your Online Invitation
Design and send elegant, customizable digital invitations with real-time RSVP tracking — no time limit, no credit card required.
Get started
Step 1
Open Photoshop and set up a new file.
Step 2
Add a paper texture as your first layer. Pay close attention to the size and direction of the grain. The grain of the paper should run horizontally—left to right vs. up and down—as most paper stock is oriented in that direction for printing. Keep the size of texture in mind to ensure it doesn’t appear too large. The larger the texture is, the smaller the design will appear to be.
Step 3
Place a PNG or PDF version of your design on the layer above your paper texture.
Step 4
Depending on how dark your design is, you have a couple options for how the paper texture will show through. If your design is light in color, or has a light-colored background, select the layer with your design, go to the “layer blend mode” menu, and select “multiply.” You’ll be able to see the paper texture come through your design. If you have a darker design, it may be difficult to see the paper texture by using the multiply function alone. After placing your design on top of the paper texture, go to the layer menu and change your blend mode from normal to “color burn.”
Step 5
Duplicate your design layer, and change the blend mode back to “multiply.” This will deepen the overall color and soften the paper texture. Adjust the opacity of each layer to your liking.
And that’s it! Now you’re ready to digitally add a paper texture to your designs.